  🫧 CORAL🪸 ARTICULATED 🌊  TURTLE 🐢 Born from three months of technical sculpting and refinement, this articulated turtle carries a mesmerizing coral shell, unique flippers, and lifelike textures. Engineered to move with natural grace, it showcases the hidden beauty of gyroid patterns while remaining FDM-printable with almost no supports, a rare harmony of design, art, and technical mastery. 🌊 The Journey  🐢✨ The Coral Articulated Turtle was not born overnight,  it was technically sculpted over months of persistence, trial, and discovery. It began with a vision. I had always wondered how to design articulations as fluid and natural as waves. But there was no ready-made tool or shortcut. What existed felt limiting, so I set out to build my own way, a path that would take me through months of testing, sculpting, and refining and creating various  CAD software, custom algorithms, and hands-on sculpting into a process that was as much invention as it was cre...

Acid Bed Leveling. The Madness Continues


Acid bed leveling is an experimental technique developed by Mels3D for achieving a perfectly flat build plate in 3D printing. This innovative process uses acid etching to precisely remove material from the surface of the build plate, correcting any irregularities. 

 Key Points: 
1. Precision
The acid etching process allows for extremely fine adjustments, resulting in a highly accurate and uniform surface.

 2. Surface Quality
 This method can produce a smoother surface compared to traditional mechanical leveling methods, enhancing print adhesion.

 3. Durability
Plates leveled through acid etching tend to maintain their flatness longer, reducing the frequency of re-leveling. 

4. Material Compatibility
Typically used on metal build plates like aluminum or steel, which can endure the etching process.

 Process:

1.Preparation
 The build plate is cleaned thoroughly to eliminate any contaminants.
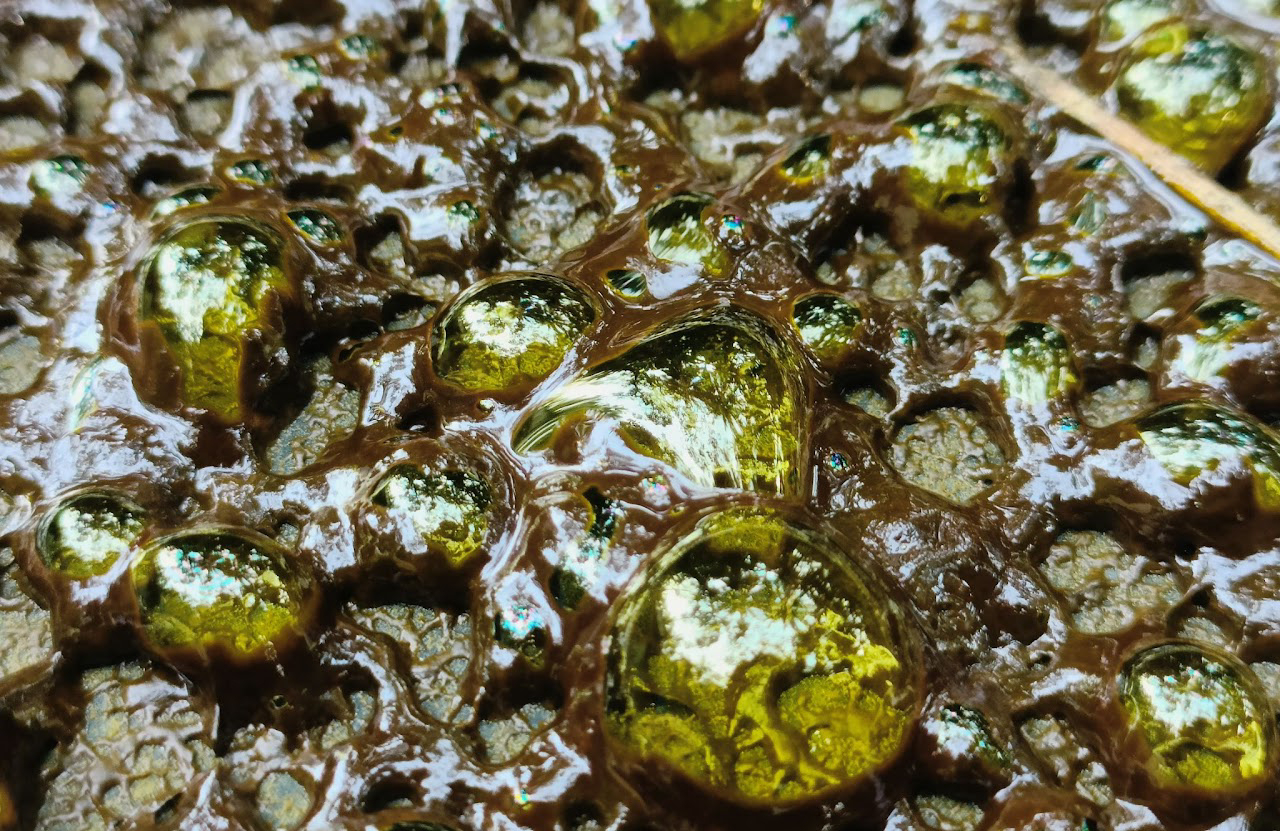
 
2. Etching
An acid solution is applied to dissolve high spots and create a level surface. 

3. Neutralization
The acid is neutralized and the plate is rinsed to remove residual chemicals. 

4. Final Cleaning
 The plate is dried and cleaned, ready for use in the 3D printer. This method, being in the experimental stage by Mels3D, holds promise for high-precision 3D printing applications where even minor deviations in build plate flatness can significantly impact print quality.

Comments

Popular posts from this blog

360 Print-in-place Link

### Unlocking Potential: The Social Impact of 360 Links Design In a world where technology continually reshapes our lives, the 360 Links design stands out as a beacon of innovation with profound social impact. This design leverages the power of additive manufacturing to deliver not only technical prowess but also significant benefits for individuals and society. One particularly exciting application of this technology is in 3D-printed articulated toys that can be printed in place and have 360-degree movement capabilities. These toys exemplify the transformative potential of the 360 Links design, demonstrating its versatility and impact across various domains. Here’s how the design of the 360 Links translates into significant social relevance and benefits: #### 1. Empowering Innovation and Creativity - **DIY and Customization:** The 360 Links enable hobbyists and innovators to create complex, moving parts directly from a 3D printer. This capability foster...

Articulated Seahorse

  (work in progress blog) I want to tell my experience and story about the creation of MELS 3D LABS Articulated Seahorse. Of all the Articulated designs, this has a unique story and place among them all. Early 2024, i was researching for an articulation no other designer has ever made. It should be an interesting creature as well, my research led me to seahorse, a beautiful creation of nature.  THE SCULPTING My sculpting workflow evolved over the years,  a systematic, hence its time consuming but foolproof approach to perfection. Typically i sculpt 2-3 days straight, mostly skipping  breakfast as i get hyper obsessive. The sculpting path : Typically i could create a link and the body section, where then i can duplicate it, then scale it down and keep duplicating it up to the tail. That would save a lot of time and effort. But for the seahorse, This wasn’t the case. The body is curved, hence even after duplicating, each link has to be precisely sculpted to preserve th...

WOODEN PRINTER BUILD & UPGRADES

The project started as a 1 meter Cartesian Cube. But for easy transportation around the house, I had to reduce the printer width to 83 cm from 1 meter.  Printer  details can be found below ; Max tested printing speed : 150mm/s Best results as of now : 75mm/s with 550 acceleration & 0.04 junction Deviation Printer dimensions : Length : 120 cm  Width : 83 cm Height : 83 cm  Current Print Dimension : 60 × 60 × 50 cm Print Dimension upgradable : 120*83*83 cm Endstops set to : 48x * 38y * 28z cm Firmware : Marlin 2.0.6.1 upgraded to 2.0.8.2 with SKR2 Steps per unit  A4988 (100, 100, 2600, 95)  DRV8825 (200, 200, 5200, 190) Iinear Advancement K = 0.22 Baud 250000 # printing Material (All metal) [PLA, ABS, Nylon, ASA, TPU etc] # 1.75mm filament # 100k ntc b 3950 Thermistor # 12v 40w heating cartridge # E3D V6 All Metal J-Head Hotend Extruder PID Tuning 195°c Kp : 41.88  Ki : 7.41 Kd : 59.18 185°c Kp : 42.65 Ki : 7.23 Kd : 62.90 # Fat Nema extreme Extrusio...